Modeling this case that will attach to or hold a standard blister pack of birth control pills is difficult for two reasons: first, there is no such thing as a standard blister pack of birth control pills (I’ve collected about eight different shapes and sizes from friends); second, I haven’t finished designing the PCB that will eventually hold all the LEDs, the button, the microcontroller, and the battery holder, so I modeled with a generalization of the guts of the electronics…
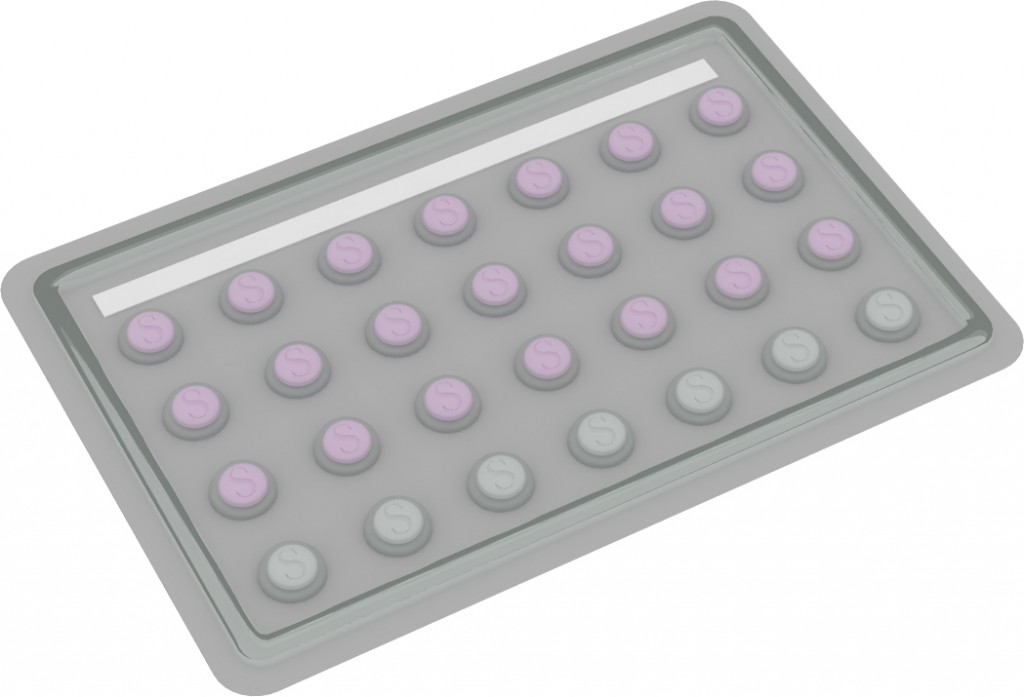
First, it’s important to show how this blinky reminder thing (I’m calling it an Acorn – which should maybe change to something acronym-oriented? – and I have no idea why – maybe Chicken Little thinking the sky is falling?) is going to interact with the actual pill case and what it’s made out of, so here’s what one of the blister packs looks like:
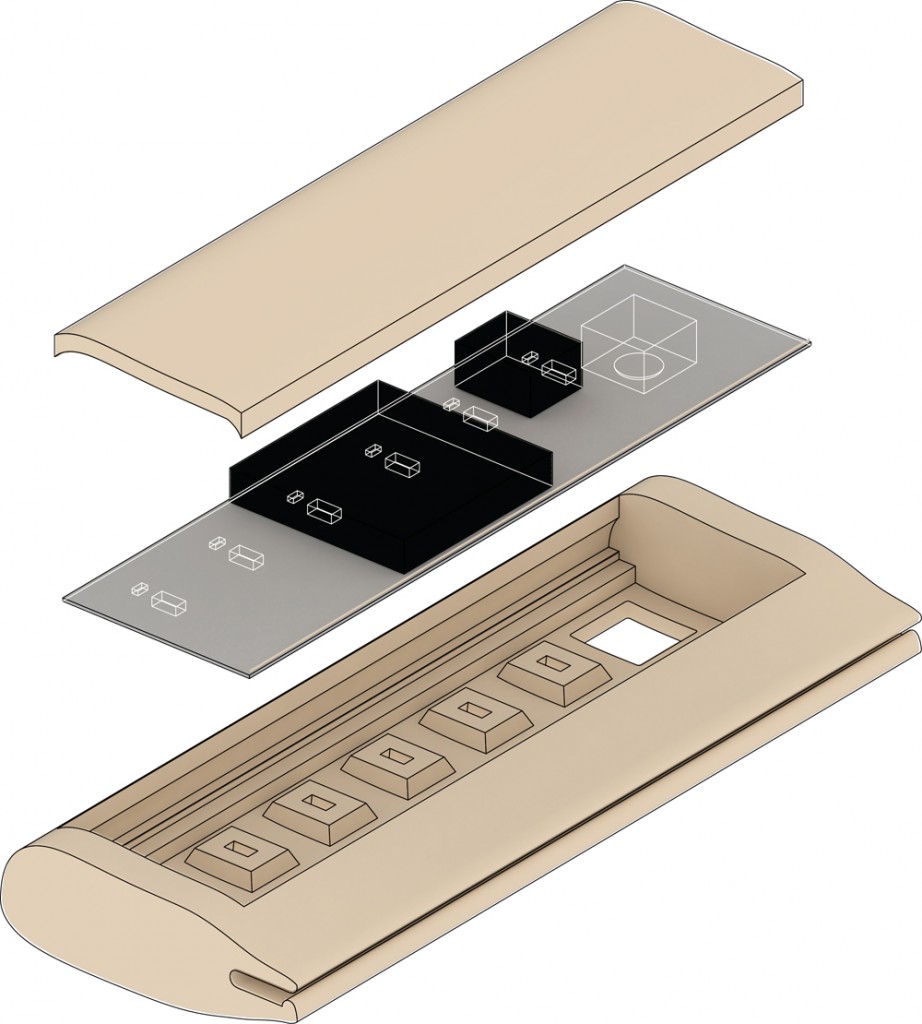
 And then – here’s what I was talking about when I said generalization of the electronics – I went through all the parts I ordered last week and just roughed out how much space they take up – at this point it doesn’t seem like a great use of time to actually model things like the battery holder, since the actual component is likely to change.
 What is significant here is that I’m imagining the microcontroller and the battery holder to be on the underside of the PCB so that a user could potentially remove the back case and access the battery… the microcontroller’s there for height reasons. Input on this general process much appreciated!!
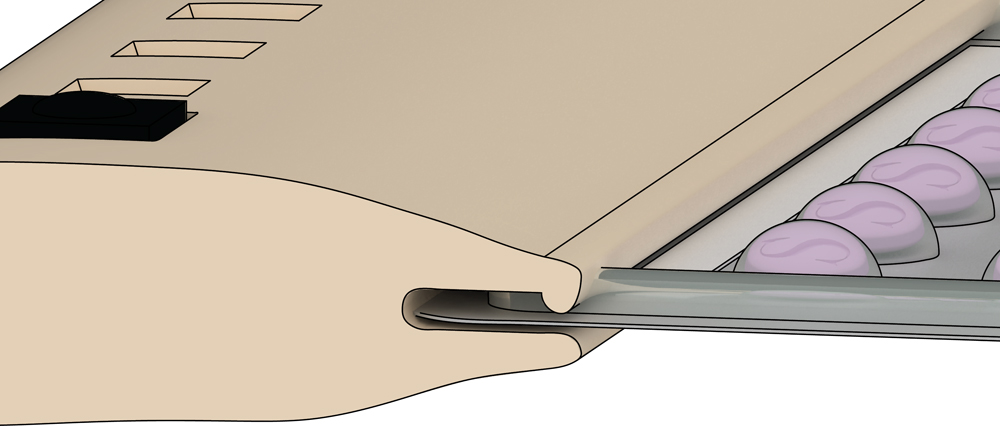
 I’m trying to figure out the most versatile way for the Acorn* to latch onto the blister pack, since they’re all different shapes and sizes. A lot of them have this blister ridge around the outside, though, which squishes down when necessary – that seems like an opportunity to have a kind of compression slot for the two to connect.
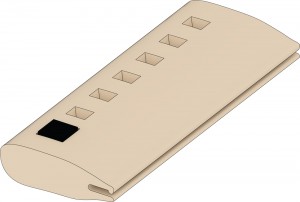
 As for the actual design of the thing – I didn’t pull out all the stops this week – I was mainly concerned with thinking about thickness and how much depth I might need to house the electronics while still having a delicate enough connection to the blister pack. Remember, this is supposed to be a tiny, unobtrusive little thing in your handbag, not a big loud gadget. On the left there is the button…
Finally, trying to think about not just how this might be assembled, but also how it might be accessed by the user to change the battery, I started playing with how the pcb might fit in during assembly, and how a small portion of the back might come off.
 You can see that I’ve ghosted in the upside-down LEDs and resistors to show that they align with the spaces for them in the case that will maybe(?) help their light be visible…? This has a long way to go, clearly, but identifying some of these interior housing details has been really useful this week.
BTW: I’m still moving ahead with the lamp as well, but it’s a really hand-centric design and not something I thought might benefit from modeling – we’ll see if that’s the case next week!