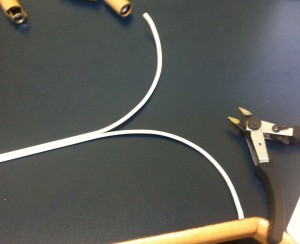
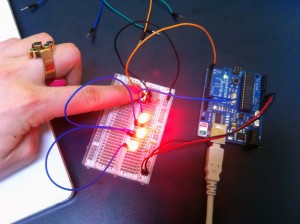
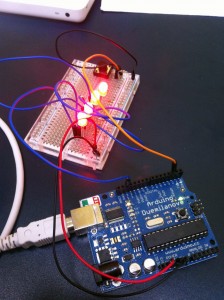
So I still haven’t decided which project – the lamp or the pill case – to move forward with. Since neither was too taxing electronically, I worked on both this week.
Wiring the lamp for multiple bulbs took some googling and a lot of talking to a friendly guy at the hardware store. I learned about the hot wire and the neutral wire, how you should hook your switch up to the hot wire (so that the lightbulb sockets aren’t “hot” when they’re turned off), and how to wire lightbulb receptacles and plugs.
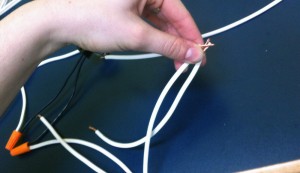 also useful was figuring out how to splice wires together using a wire connector cap. Smart little device – it’s threaded and conductive inside.
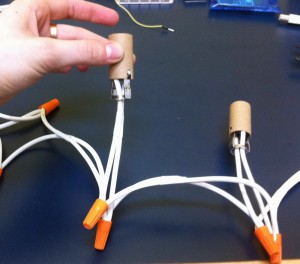
The bulb receptacles were also interestingly low-fi – hot wire (smooth wire casing) gets connected to the copper screw, while the neutral wire goes to the silver screw, then everything is insulated by the cardboard sleeve. 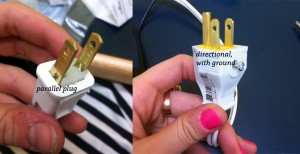
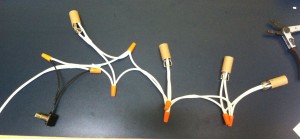
I initially bought the wrong plug – rather than a parallel one (where hot and neutral wires can be flipped), I went back and got a directional one, with a ground that I’m not using.
I’d been nervous about plugging it in while alone in my office in case of disaster. I’ve tested it now, though, and kind of unsurprisingly, it works. Just like a lamp. Huh.
********
OK – so the pill case is mainly a question of programming a couple of parameters into some LEDs and a button, none of which I’ve accomplished to perfection here.
Here is what the pill case should do:
1. user turns case “on” for first time by inserting battery into holder.
2. from that moment on, exactly every 24 hours, the case will indicate that it is time to take your medication.
3. UNLESS you press and hold down the button for a few seconds, in which case the clock will restart, and every 24 hours henceforth the case will indicate time to take medication.
4. One press of the button when LEDs are indicating “ON” will dismiss the alert.
5. One press of the button when LEDs are indicating “OFF” will cause LEDs to blink briefly, indicating that package is still working.
Using a very simple set-up with an Arduino, David tirelessly guided me through programming a simple initial sketch of this program. I have since tried to tweak for a bit more accuracy, with little success… I trust that I am getting closer, though…
Here is what I’m working with so far, including some failed attempts to tweak and some comments on what I’d like to happen… in case anyone should be so inclined to comment.
int buttonPin = 2;
int ledPin = 13;
//int CycleTime = 10000;
//unsigned long Time = millis() / CycleTime //I want only the remainder here, not the integer
int buttonState;
unsigned long lastTime = 0; // last time we turned the light on
void setup() {
pinMode(ledPin, OUTPUT);
pinMode(buttonPin, INPUT);
}
void loop(){
digitalWrite(ledPin, LOW);
//delay(10000);
while (millis() – lastTime < 10000) //concerned that this isn’t specific enough
//if you missed a sequence by more than 10000, it might not recognize two cycles had happened
{
//an attempt to make LEDs blink to indicate system on during wait loop
//buttonState = digitalRead(buttonPin);
//if (buttonState == LOW);
// {
//digitalWrite(ledPin, HIGH);
//delay(500);
//digitalWrite(ledPin, LOW);
//delay(200);
//digitalWrite(ledPin, HIGH);
//delay(500);
//digitalWrite(ledPin, LOW);
//delay(200);
//digitalWrite(ledPin, HIGH);
//delay(500);
//digitalWrite(ledPin, LOW);
//buttonState = digitalRead(buttonPin);
//}
}
digitalWrite(ledPin,HIGH);
lastTime = millis(); //this marks the current time as lastTime
//delay(1000);
buttonState = digitalRead(buttonPin);
while (buttonState == HIGH)
{
buttonState = digitalRead(buttonPin);
//I”m concerned that this waiting is keeping the millis clock from restarting every 10000
//testing and timing suggests that this needs adjustment – time is not kept.
}
//
}
