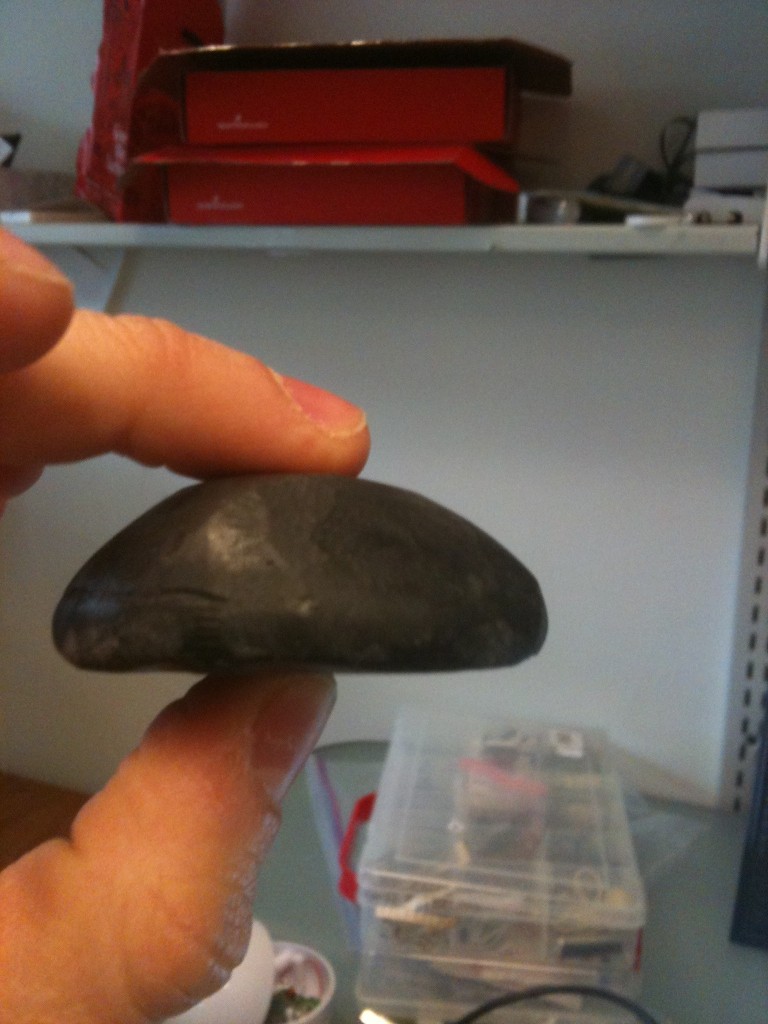
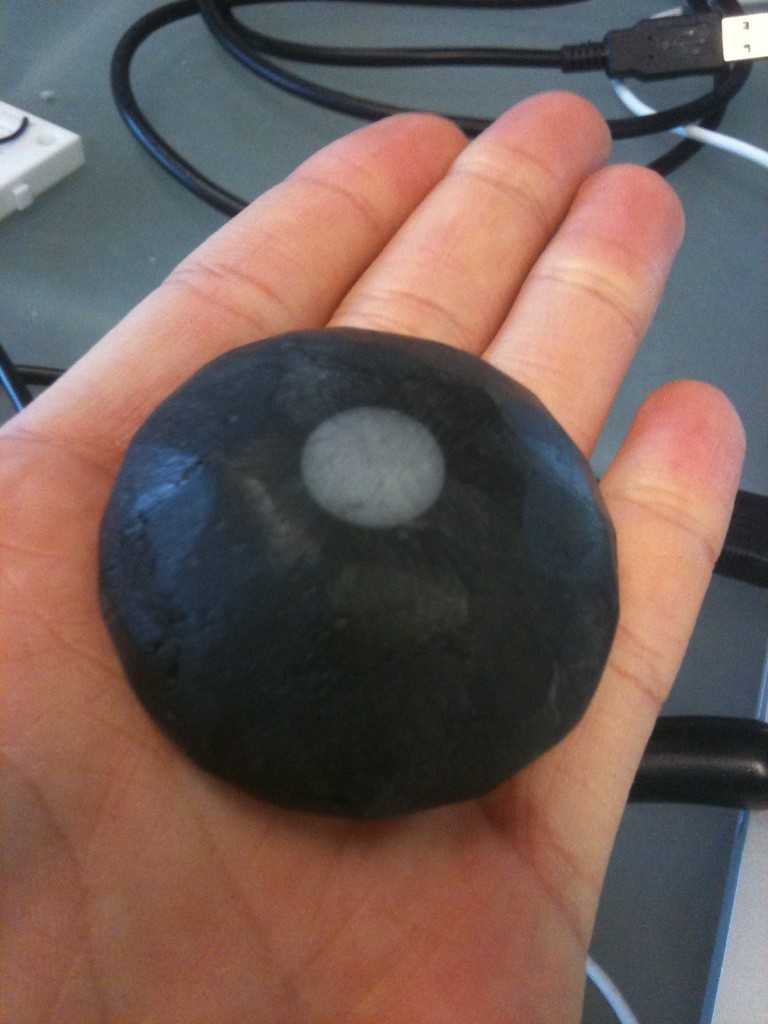
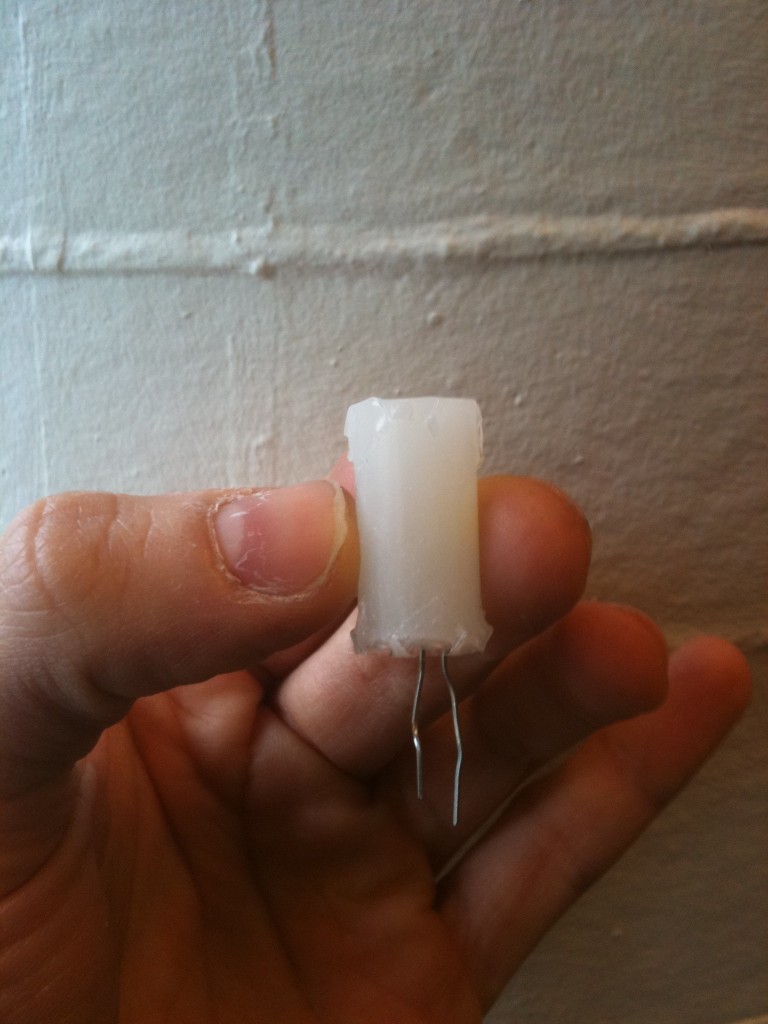
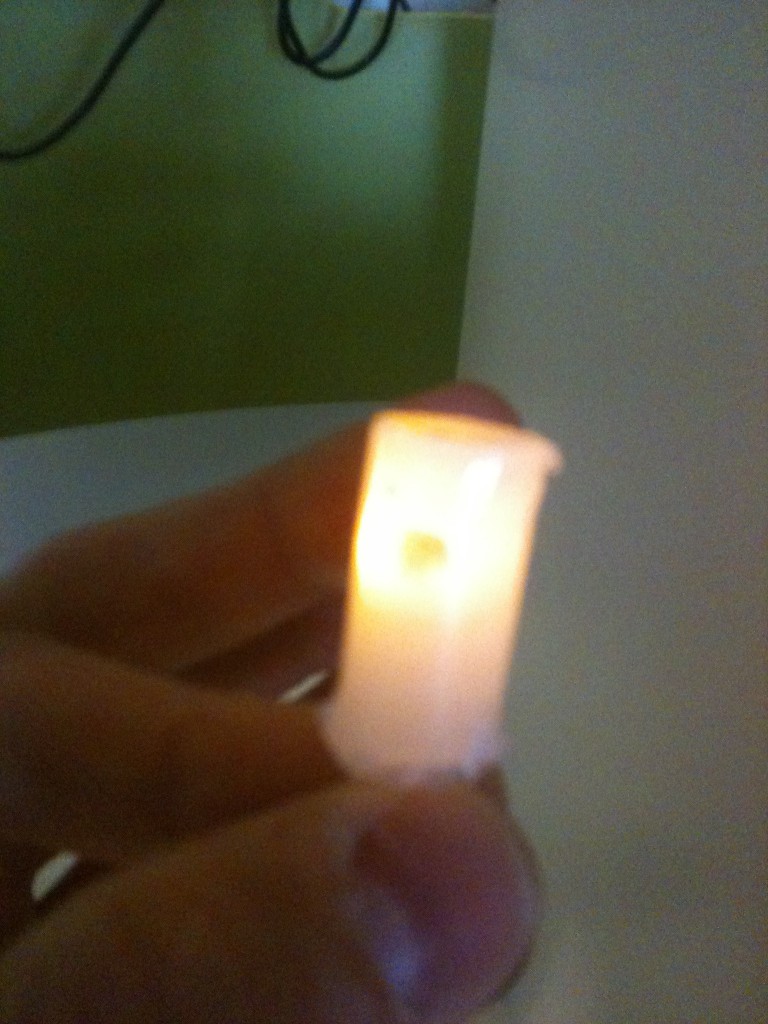
Main design revelation for this week:
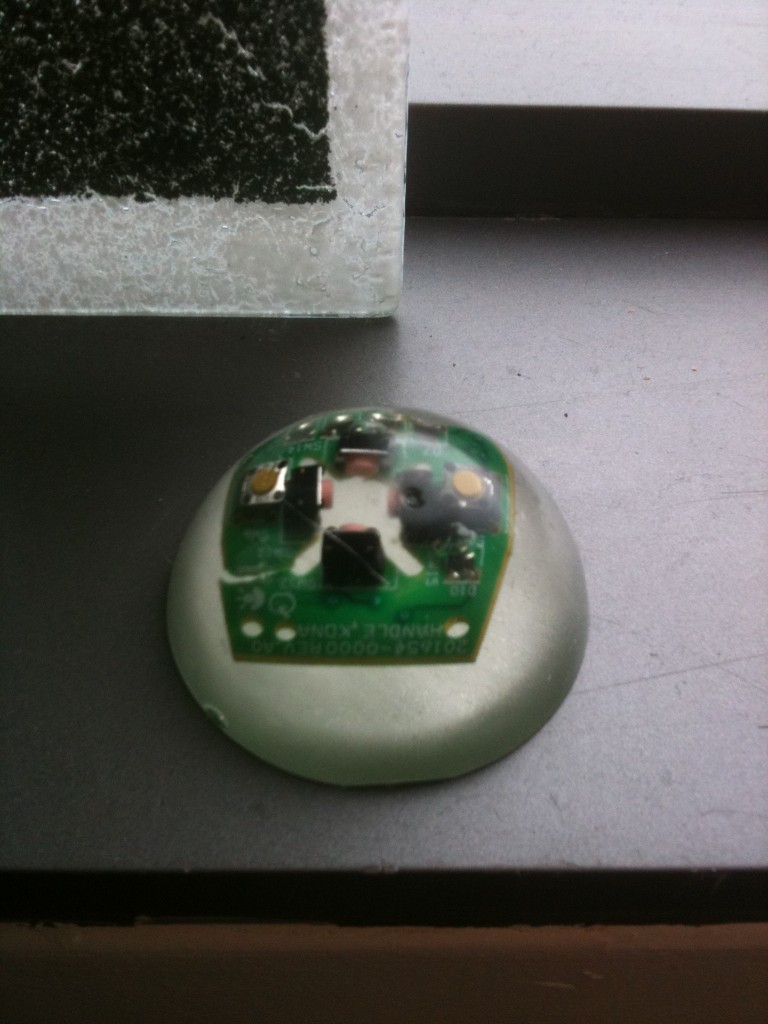
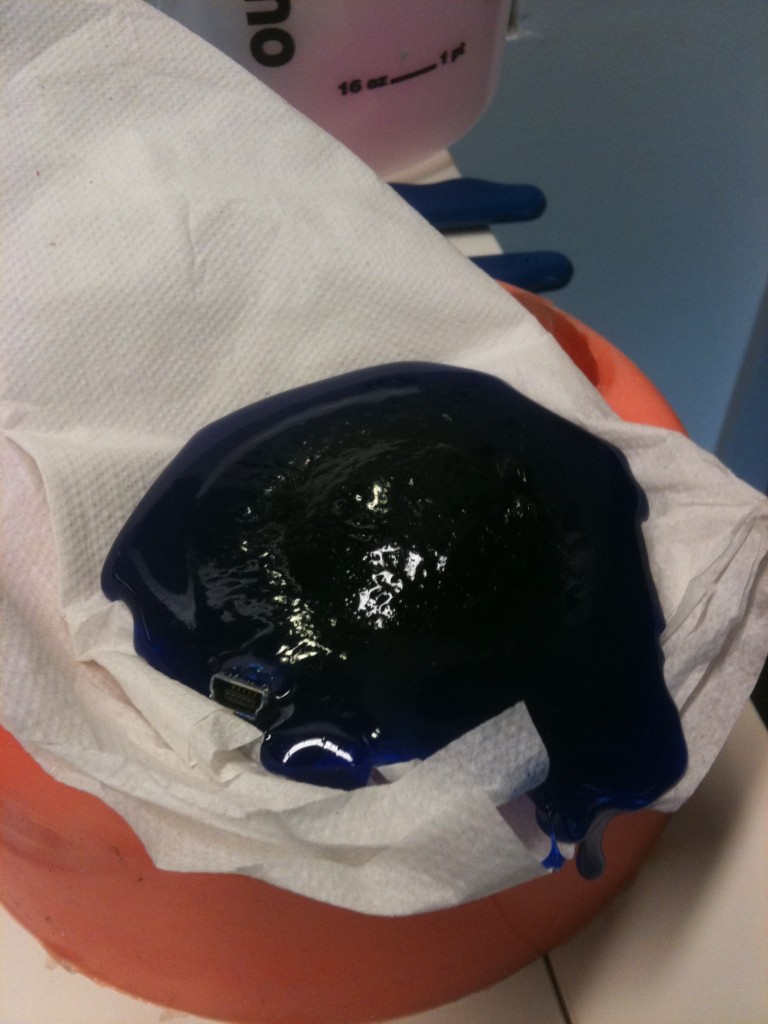
The clear-amulet-with-the-electronics-peering-through design idea was stupid. Its looks terrible. I’m now going to encase everything in a solid colored epoxy, which solves a TON of aesthetic and engineering issues.
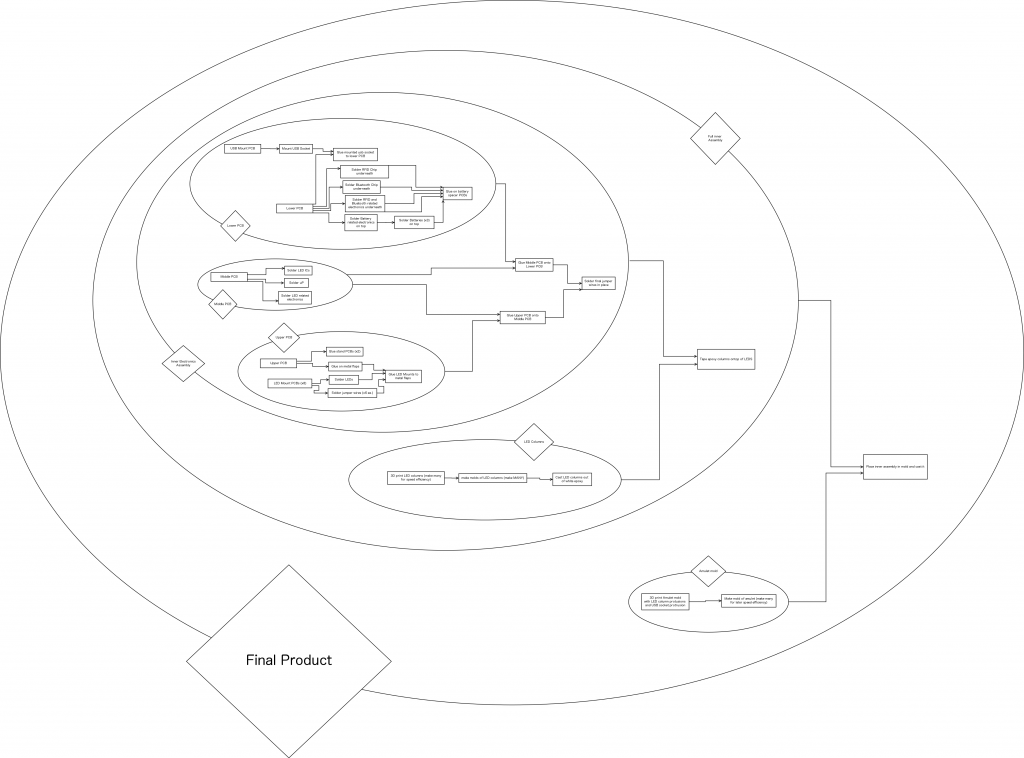
Liaison Assembly Graph:
(click to view full size image… it’s big…)
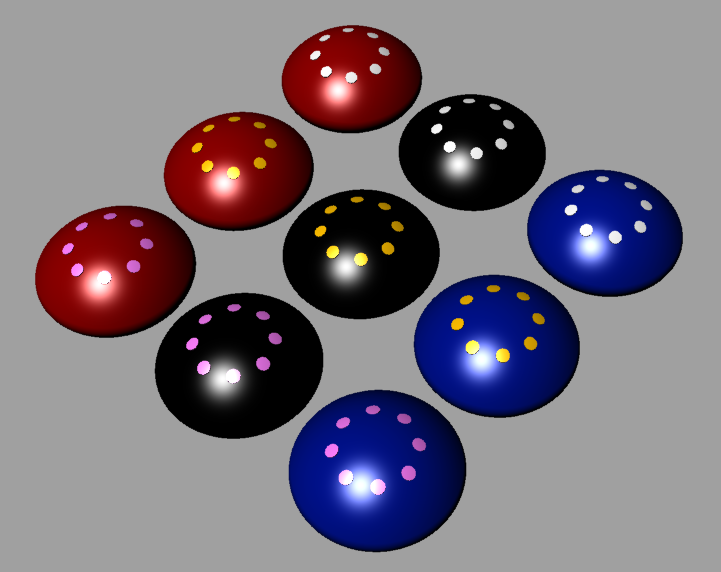
Parametric Modeling for Customization:
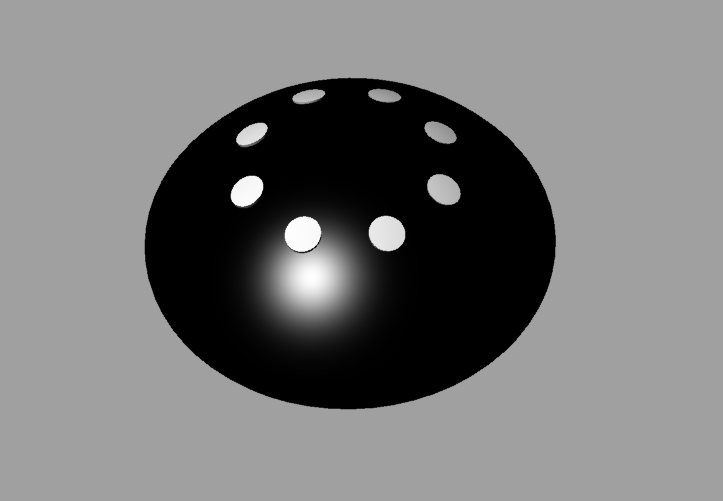
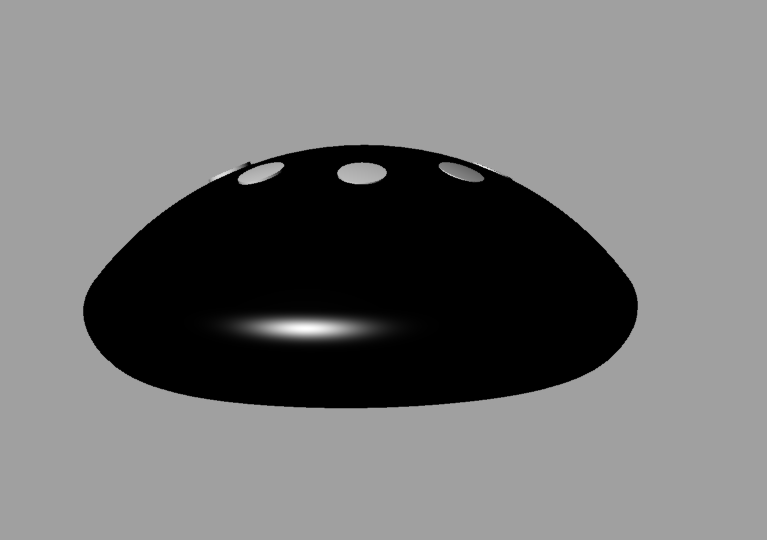
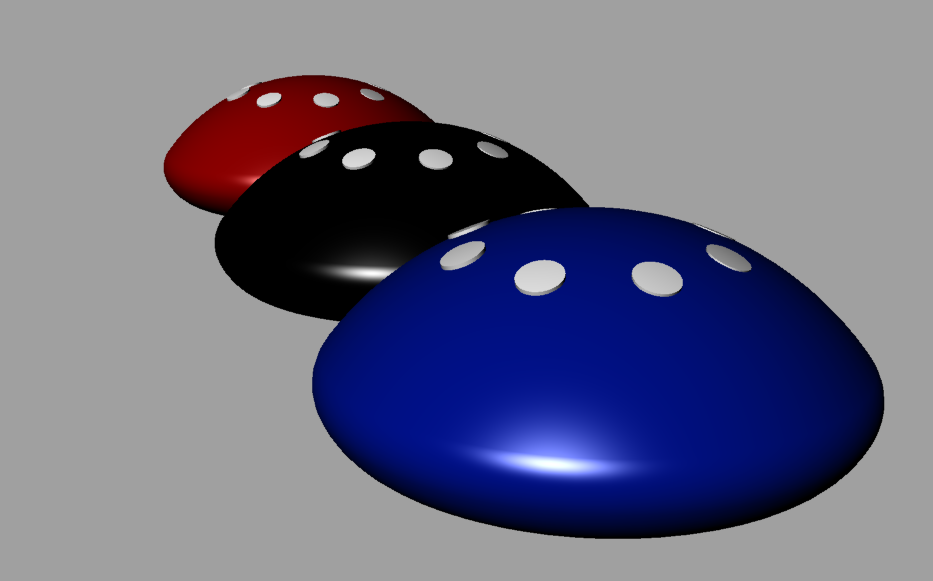
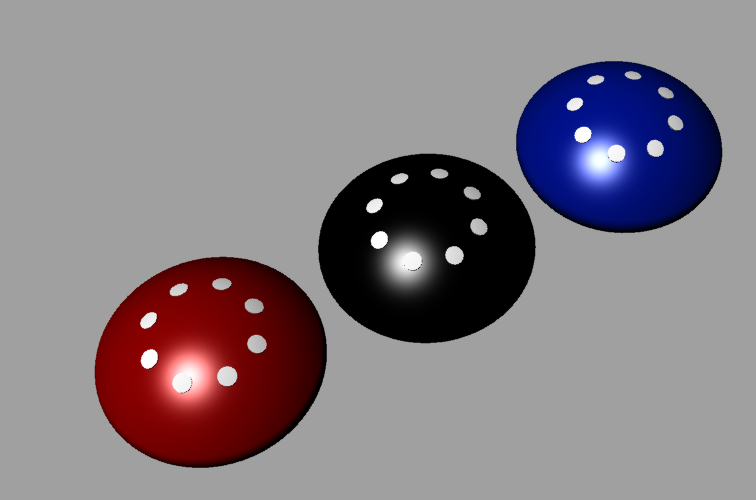
After over 10 hours of working in Grasshopper, I’ve given up and concluded these attempts to be a failure (WHY DOESN’T ‘BAKE’ WORK?!), but here’s proof that I tried:
Customization Ideas:
- amulet size (length, width, height, curvature, etc.)
- base amulet color (black, blue, red, etc.)
- LED column color (white, gray, pink, yellow, etc.)
- LED column shape (circle, square, hexagon, pentagon, octagon, etc)
- name engraving on bottom
Experimentation Lessons Learned:
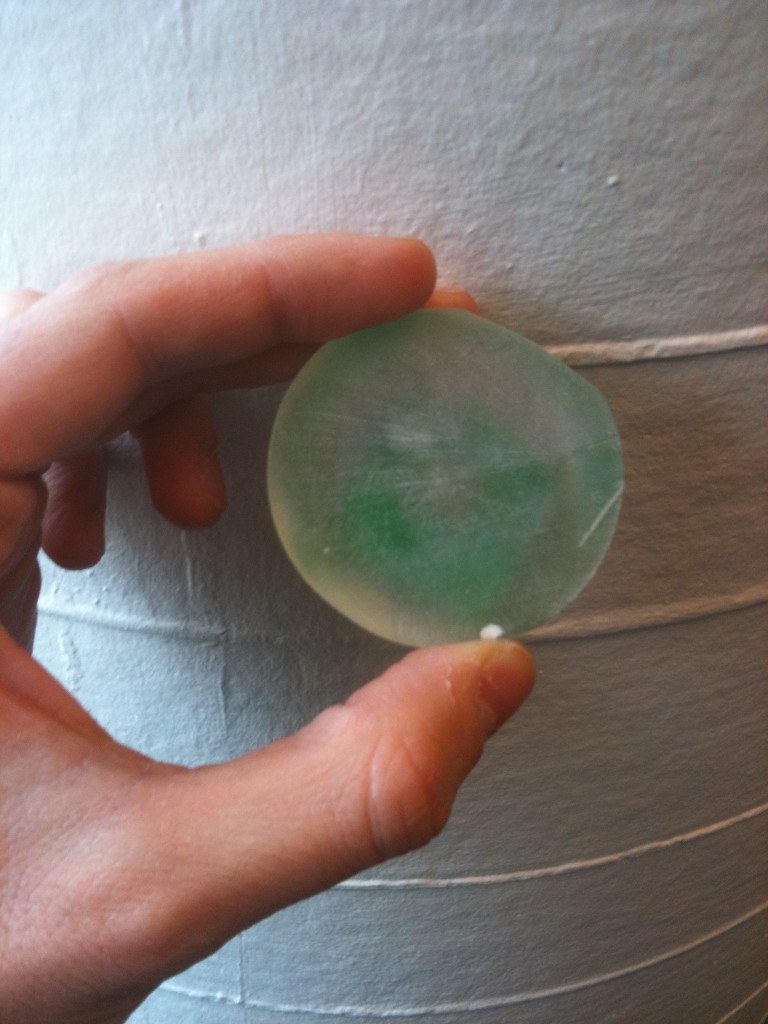
This week I also began playing around with molding and epoxies in order to get a feel for the materials as well as to begin to experimenting with the logistics behind encasing electronics in epoxy. Things I learned:
- Liquid silicon rubber is a great, robust molding material, and is not too affected by mixture ratios being off from the recommended 1:1 of hardener and silicon or by not mixing the two together for the recommended amount of time. I can save lots of time later by eyeballing these parameters and not measuring things out exactly.
- Wear gloves and a mask and open the window when making molds! Also, I probably shouldn’t make molds in my apartment anymore…
- Hollow things (like spacers and easter eggs) float in liquid rubber! In order to not waste 2 hours manually holding down my molding objects so they don’t move, I need to remember to fasten them to the bottom of the container.
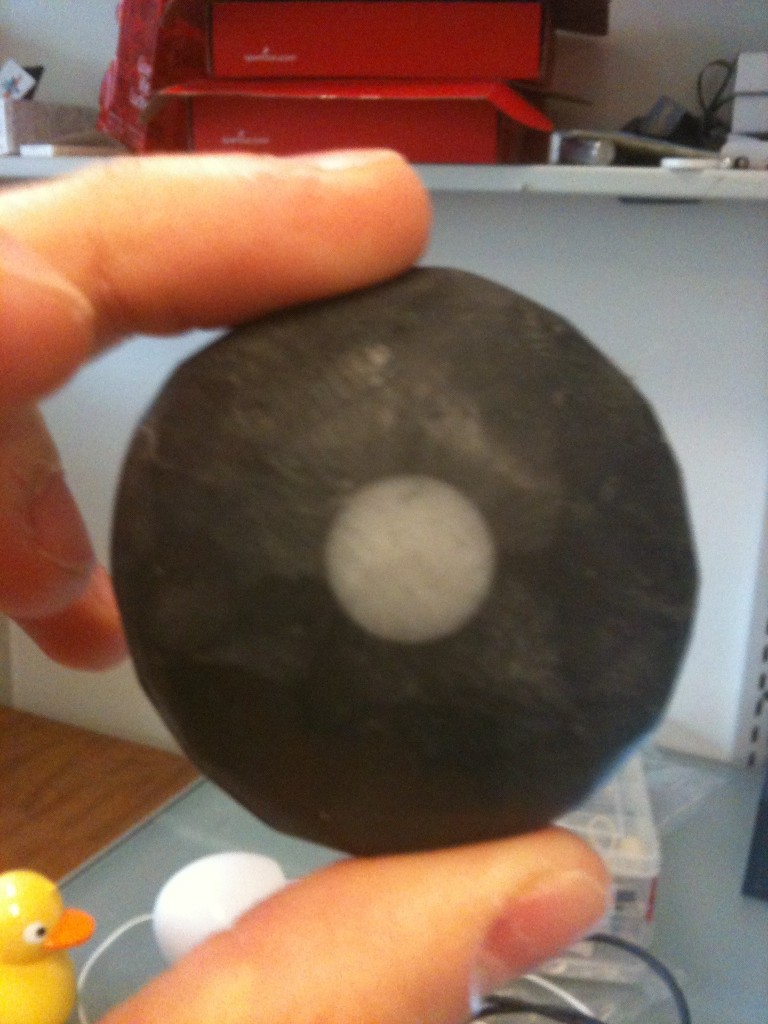
- Amulet-sized epoxy is not as heavy feeling as I thought it would be. I figured it would feel more like glass, but it is much lighter, more like a plastic. I may want to manually add more weight to the final object to give it the feel I want.
- Electronics peering through clear epoxy looks silly and unprofessional. I’d much prefer to colorize them and completely hide the electronics from view.
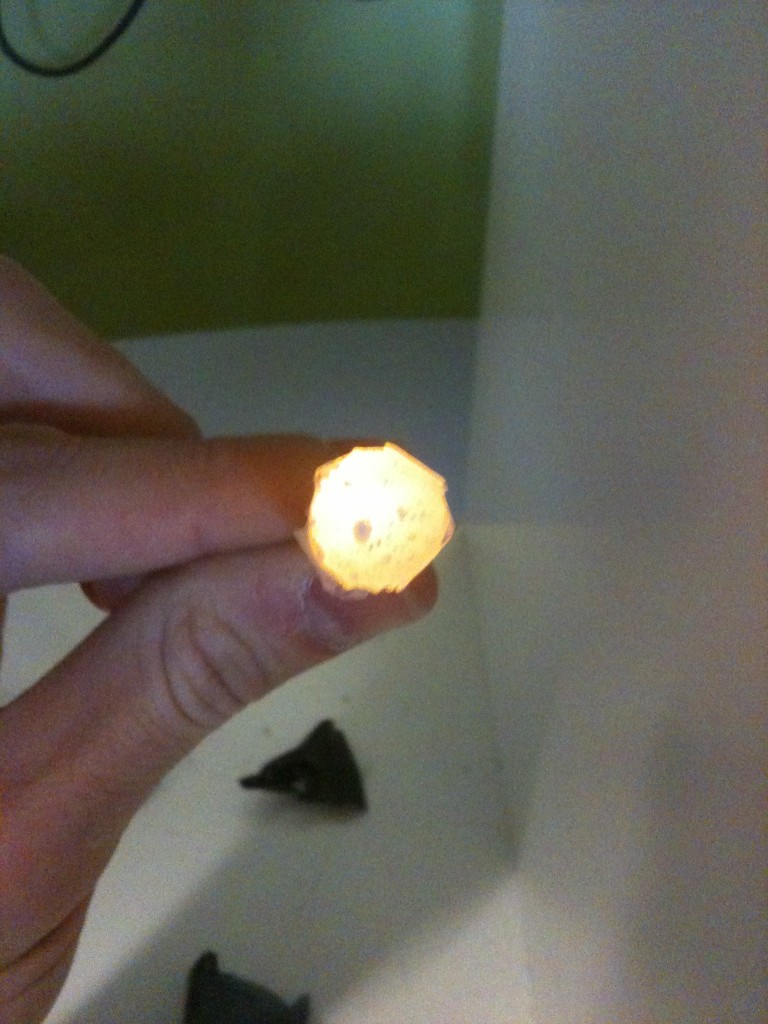
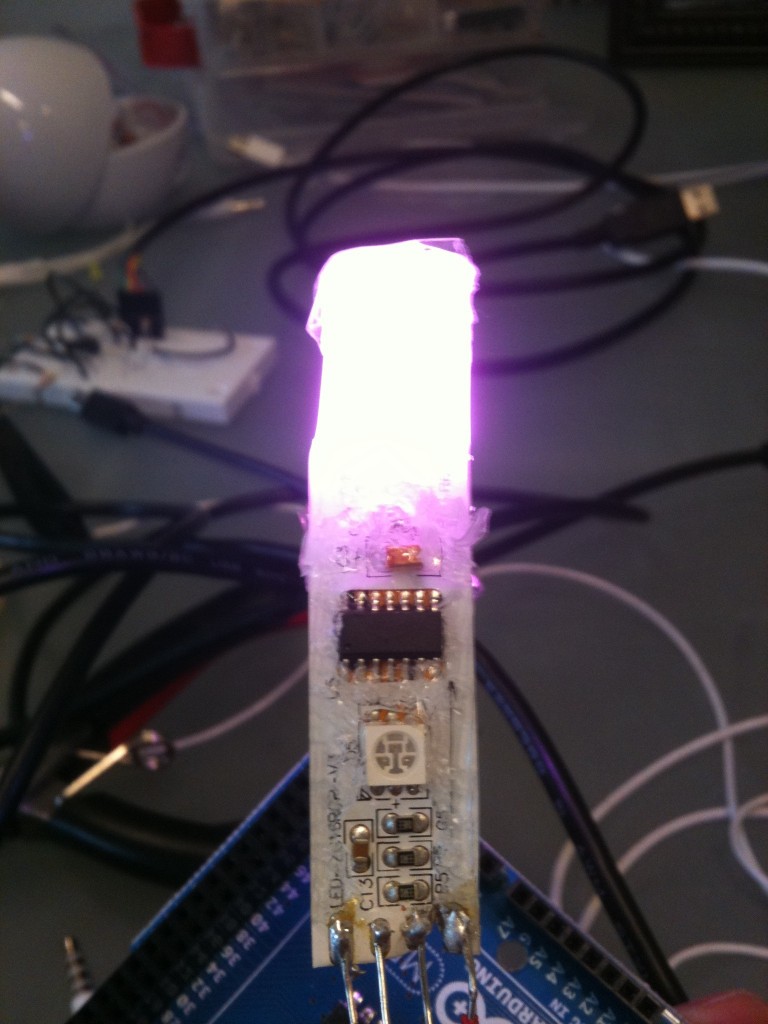
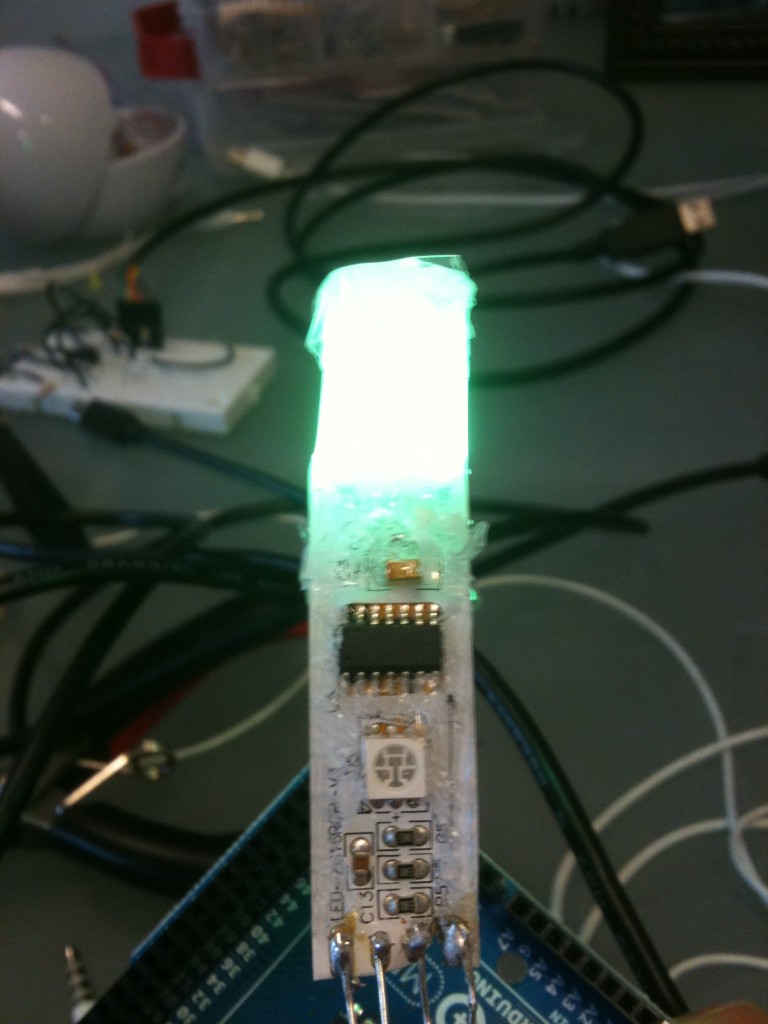
- In order for LED light to be able to shine through milky epoxy, I need VERY little white pigment and to stir very minimally. Even a little too much pigment makes the epoxy too opaque.
- Its actually NOT the AMOUNT OF PIGMENT added to the epoxy that makes it transparent or not, its the LENGTH OF TIME you stir it into the epoxy that effects the transparency. MORE STIR TIME == LESS TRANSPARENCY
- Unlike the liquid rubber, the epoxy is VERY SENSITIVE to mix ratios. Anything other than a precisely measured 1:1 ratio of hardener to resin will make the castings soft and melty.
- Its easy to cast a mold around a USB port that sticks out of the side. First, encase it in hot glue to cover up the holes. Then simply cut a small hole into the side of the amulet-shaped mold and stick the usb port in there before casting. The pressure of the rubber around the edges of the USB port prevent epoxy from seeping in the front side.
- The epoxy amulets can (must) be sanded down after casting. There are always imperfections in the surface.
- Sanding epoxy gives it a cool matte look. I kind of like that more than the shiny look I rendered.
- Don’t use anything rougher than 150 grit sandpaper! Its cuts through the epoxy like butter.
- Someone mentioned to me that regular epoxy gets so hot when curing that it can give you third degree burns! This is probably not safe to encase a LiPo battery in! Must do more research to see if there are electronics-safe epoxies…
- Actually, after further tests, leds, resistors, capacitors, and ICs seem to be working fine after the curing process. Still worried about batteries though!
- LED light looks super cool through the milky white epoxy!!
- Using a belt sander and buffer on the amulet and LED columns is really hard. Its impossible to get a smooth curved finished — it always comes out splotchy. Though in a weird sort of way, I almost like this asymmetric aesthetic…something to look into…
- RFID works perfectly fine through any thickness of epoxy. Even black epoxy! Read range does not degrade.
- Still working on the bluetooth-through-epoxy test
